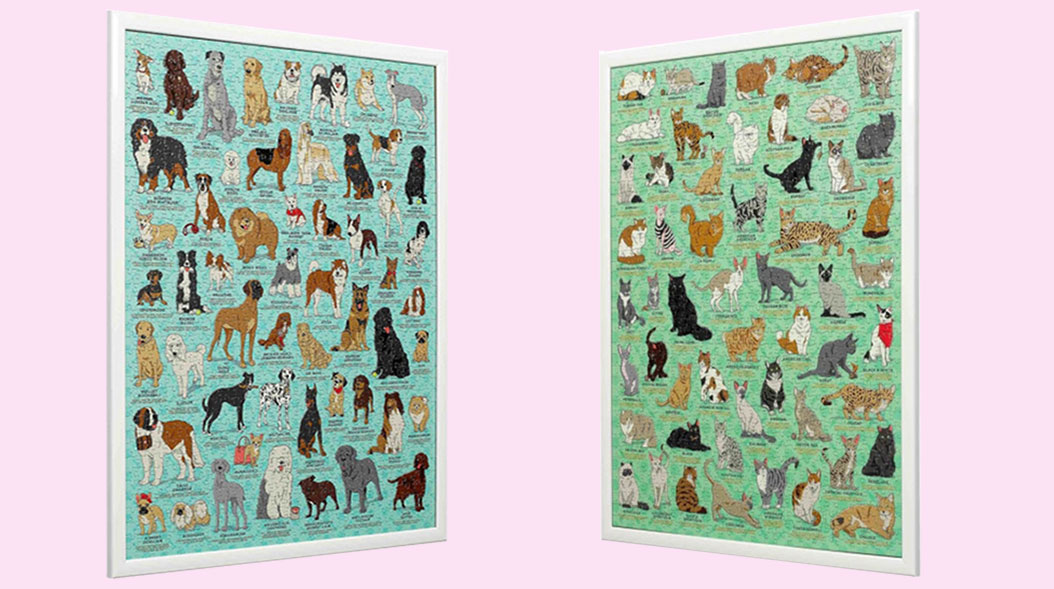
How To Frame Your Jigsaw Puzzle
So you have decided to build your gallery wall and you have checked out all of our tips and tricks here. But if you are looking for a little more inspiration on how you can make your home extra personal and give it that creative touch, then look no further!
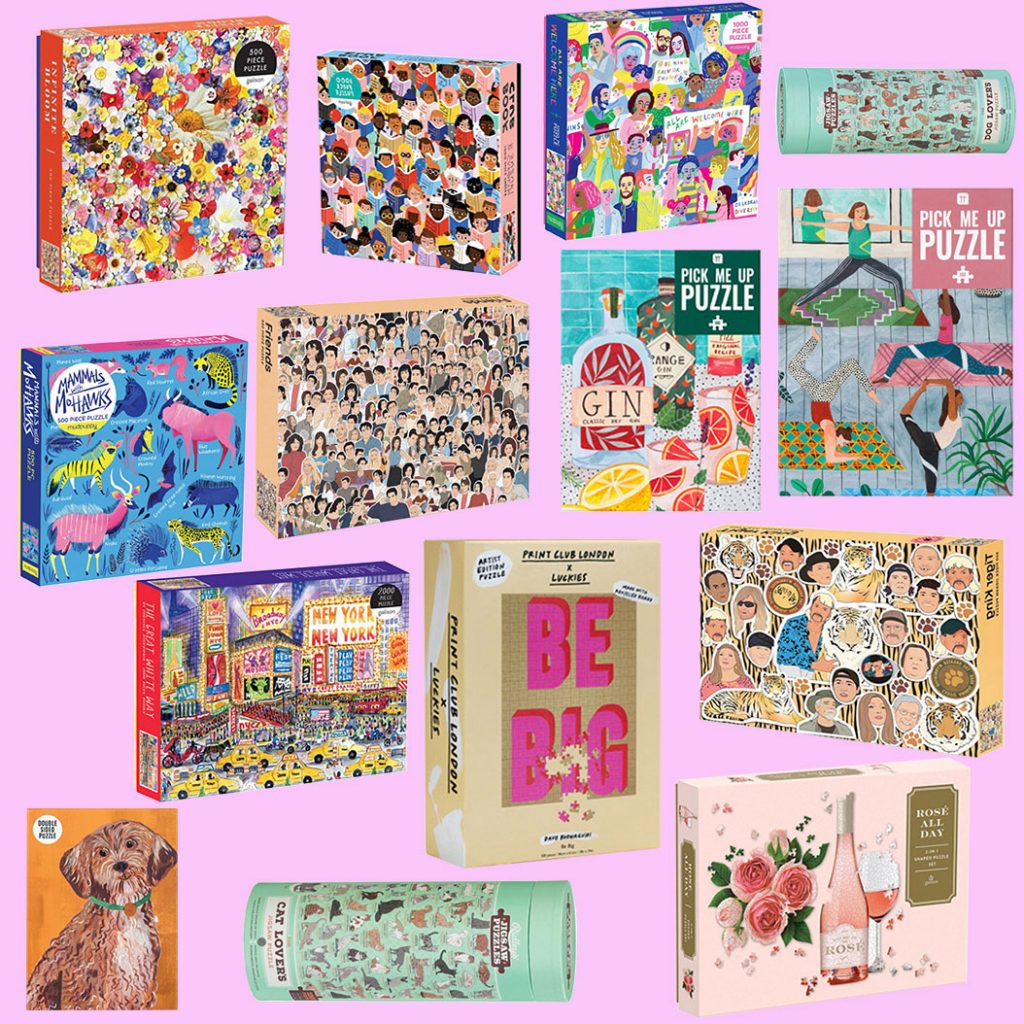
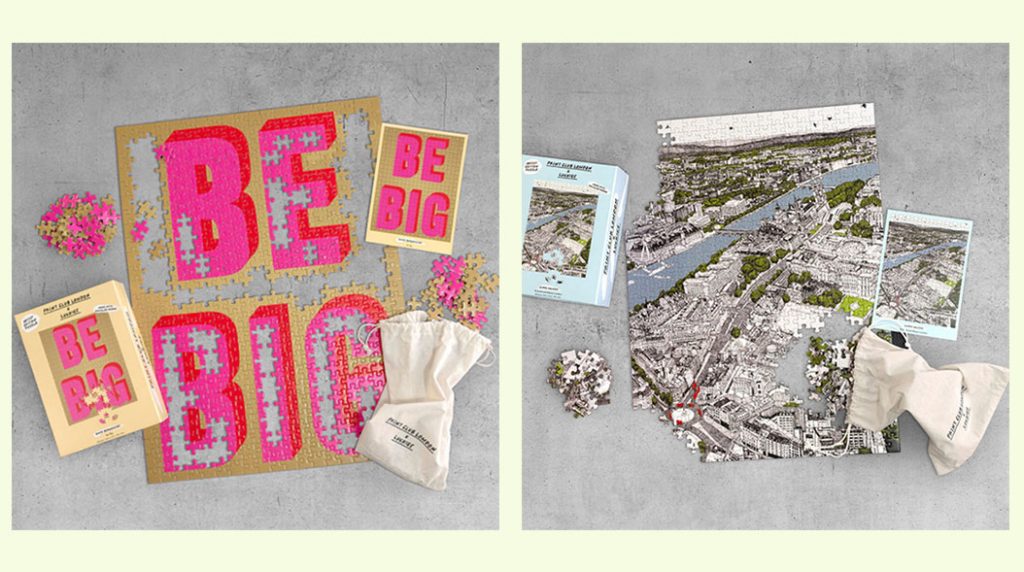
Isolation has got us all puzzle crazy! Not only is it a momentous feeling when you complete your jigsaw, but it can feel like such a shame to just pack it away and put the pieces back in the box. Your jigsaw prints should be displayed loud and proud as it can help pull your room together.
1. Measure Your Puzzle

First things first, you need to measure the dimensions of your finished puzzle so you can get a frame that is a suitable size. Make sure you measure the jigsaw when it is complete and that you don’t just go off what the box says as this may be telling you how big the packaging is. It's best to go off your own measurements for accuracy. Then once you have the dimensions, you can select a frame that suits your interior space!
2. Take Into Account The Puzzles Depth
Remember that a puzzle will most likely be thicker than your average print, therefore you need to take this into consideration. It may be better for you to get a shadow box frame, as this will accommodate whatever the depth of your puzzle is. However, if you do just want to get a normal frame, just make sure you do the measurements to make sure that it will fit!
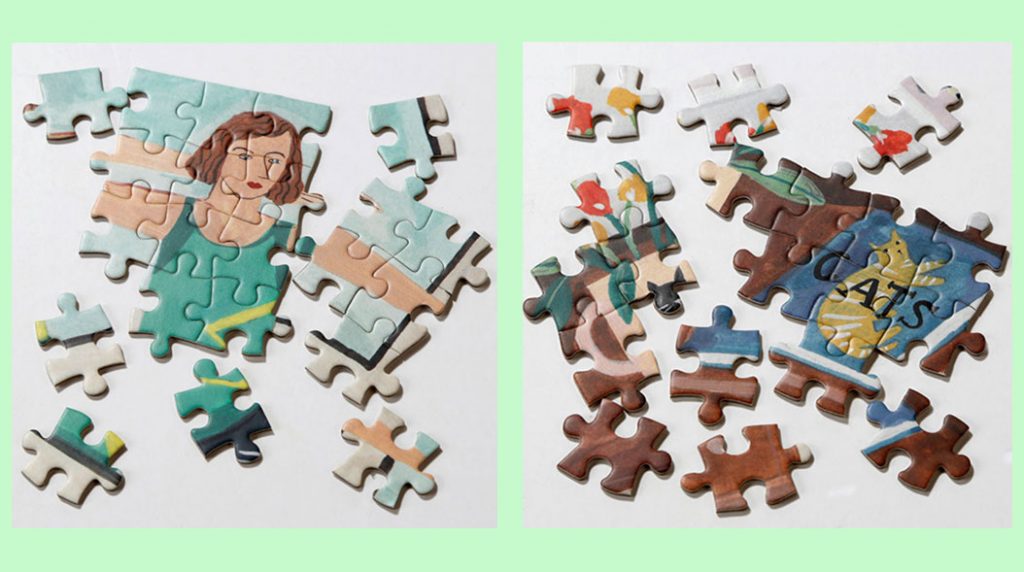
3. Make Sure Your Puzzle Is Flat
Okay, onto the trickier part. You have your completed puzzle, you have your frame, but how do you put them together? This can be a little fiddly and you might be wondering how to make sure your jigsaw doesn’t just crumple into 1000 pieces.
First of all, make sure your puzzle is flat, you could use a rolling pin over it just to make sure that all the pieces are firmly slotted in and there aren’t any mischievous ones popping out slightly. Once your puzzle is smooth to your satisfaction, it is time to secure the pieces together.
4. Secure Your Puzzle!
You will need some glue to wash over the top of your jigsaw and something to spread it easily. This could be anything from some cardboard to a ruler! Something straight, hard and flat will ensure that there are no brush marks. You don’t want to use too much glue as this can damage the finish of the puzzle and can cause pieces to peel or fray. So, in this case, less is more! Bit by bit; spread the glue over the surface of the puzzle. You are looking for a glue with low water content, as more moisture could cause the puzzle to lift. Make sure you have a little research to find the glue that ticks all the boxes!
If you do start to see your puzzle peeling, don’t fret! Once it has dried, flip it over and cover the back with the glue too, focusing on the parts that are curling. This should help flatten everything back out. For additional support, we recommend mounting your puzzle onto some wax paper.
5. If You Don't Want To use Glue
If you think you are too much of a messy person to be trusted with a pot of glue, not to worry!
Once your jigsaw is complete, slide a bit of cardboard or paper underneath the surface as well as on top (so you have sandwiched your puzzle) and then quickly and carefully flip it over. Hopefully, your puzzle is still intact at this point. Next, use some tape, we recommend using a none acidic tape as this too could cause your masterpiece to peel. Try to get an even coverage of tape across the back of the puzzle, and even overlap where you can just to make sure your jigsaw will not move once its in its frame.
And there you have it! A beautiful jigsaw secure in it's frame. Add this to your gallery wall for an added element of texture and colour.
Time for more? Top Ten Binge Worthy Netflix Shows | Mindfulness Whilst At Home | Isolation Inspiration Station | How to Create Your Perfect Gallery Wall
-
![Colourful Stationery and Desk Accessories for a Happier Workspace]() Home inspoColourful Stationery and Desk Accessories for a Happier WorkspaceRead More
Home inspoColourful Stationery and Desk Accessories for a Happier WorkspaceRead MoreFrom colourful home offices to joyful desk setups, more people are embracing the idea that the spaces we use every day should make us feel good.
-
![10 Ways To Use A Hay Colour Crate]() Home inspo10 Ways To Use A Hay Colour CrateRead More
Home inspo10 Ways To Use A Hay Colour CrateRead MoreAn eco version of the stackable storage solution that we all know and love has landed! Here are some ideas on how you can use Hay Colour Crates to organise, save space and add a sparkle of personality to your...